6-point checklist to ready your motorcycle for any ride
A must-do for rider safety and motorcycle health.

We’ve all heard of unfavorable situations on the road —riders finding an underinflated tire mid-way through a commute, motorcycles that won’t seem to start after a short ride out, or a motorcycle that started leaking oil or coolant during a weekend ride out. While it may be tiresome to have to deal with situations like these, it’s important to know that our own motorcycles are not indestructible machines. Motorcycles go through their own cycles of wear and tear and may leave us dealing with unexpected repairs or breakdowns somewhere down the road.
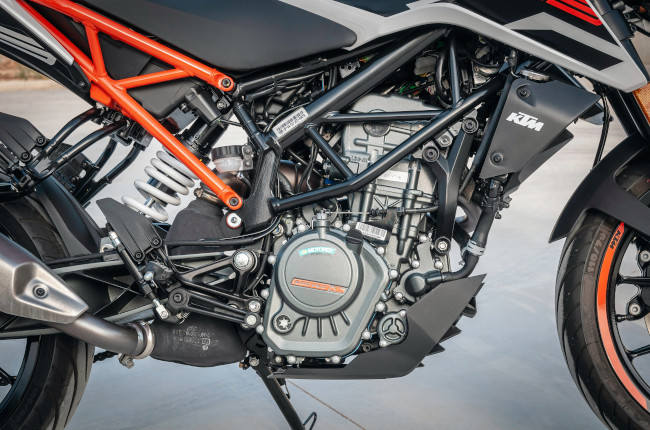
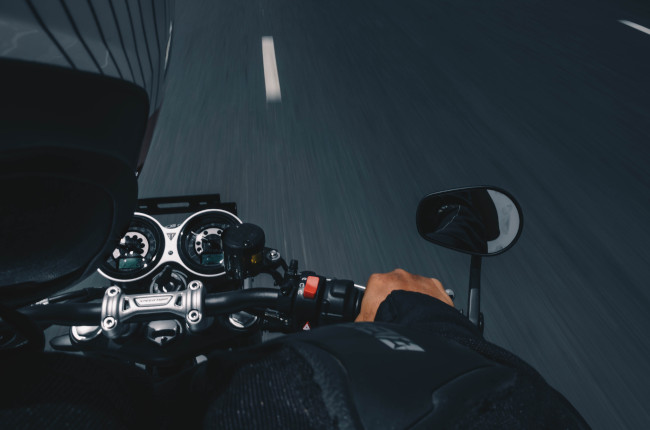
That’s not to say, however, that owning a motorcycle will inevitably leave you facing very unfavorable and unpleasant experiences. The discerning rider will know that prevention is often the best cure—and maintenance and regular inspections will go a very long way in ensuring your own safety on two wheels. Before you hop on the saddle for your next ride out, you might want to consider doing a pre-ride check to ensure the mechanical health of your trusty steed. Here is a quick 6-point checklist to ensure your motorcycle is ready for any given ride.
Tires and Wheels

When inspecting the tires, make sure that your tires do not have any strange bulges or deformations, and are properly inflated to the specification of the manufacturer. If your tire deforms significantly just by pressing down on the rim or through squeezing it by hand, you may want to re-check the tire pressure. For your wheels, make sure to inspect for cracks or deformations. If you’re on spoked wheels, ensure that your spokes are in good condition by applying gentle pressure with your hand on each of the spokes. If any spoke bends excessively out of position, you may want to have it checked before your next ride out.
Fluids

Check on the fluid levels of your engine oil, engine coolant, front brake master cylinder, and your rear brake master cylinder. In general, the best way to check for the optimal fluid levels of these components will be best instructed by your owner’s manual—so it might be a good idea to pull that manual out and learn how to check the fluid levels on your motorcycle. On top of checking fluid levels, also try to remember when you changed your motorcycle fluids last. If you’re approaching your due date for a fluid change, or if you can’t remember when your last fluid change was, you may want to schedule your next trip to the shop to swap out your old fluids for fresh ones.
Chassis

Another important item not to overlook would be the chassis of your motorcycle. Inspect the frame itself and check for any cracks especially around corners and joints of the frame. Also inspect for rust accumulation on any part of the frame. If cracks or excess rust is found, it would be best to take your motorcycle to a reputable body shop for repairs. You can additionally check for the condition of the swing arm bearing, head bearing, suspension component health, and chain slack and lubrication. Check for general creaking noises, a notchy feel on the steering, or leaks on the suspension units. If your chain is too loose or tight, or does not have a proper amount of lubrication, it would also be best to attend to this maintenance task before your next ride out.
Controls

The next thing to check would be your rider controls—basically everything that your four limbs are supposed to control. For your hand controls, ensure that your handlebar switches are properly secured on the handlebar and that they click in and out of position with ease. Your clutch and brake levers must also be firm—indicating a taut clutch cable and a functioning brake master cylinder and brake caliper.
On your left foot, your gear shifter must be able to shift up and down with regular ease and without dead zones or excessively stiff spots when going up and down the gears. On your right foot, your foot brake pedal must be relatively stiff and properly engaging the rear brake. Lastly, ensure that all components do not have any visible signs of wear, including cracks, bends, or cuts.
Electrical System

The next major component to check would be the electrical system of your motorcycle. Start with the battery—inspect for any corrosion on the battery terminals and replace parts if necessary. If possible, check for the battery’s voltage as well which should rest at around 12.3 to 12.8 volts, and should hover at around 13.8 to 14.4 volts when your motorcycle is running. Also make sure to do a full check of your motorcycle’s lighting system. Ensure that your headlight’s low and high beam is working properly, that your signal lights are working and flashing at regular intervals, and that your brake light is properly functioning when the brake lever and brake pedal are activated.
Rider

The last and possibly most important item to check before a ride would be the motorcycle rider who will be piloting the two-wheeled machine. Make sure that you’re in a general state of good health in order to ensure that you will be able to safely pilot your machine during your next ride out. If you’ve recently had a night out drinking, or if you’re in a serious state of fatigue or tiredness, or if you simply feel off or that you woke up on the wrong side of the bed, it may be best to sit your ride out and save your energy for another day’s ride out—which can be enjoyed with a better level of energy and a greater margin for rider safety.
Related Articles
-
4 bike-packing hacks for long adventures / Featured Article
Here are a few tips and tricks when it comes to packing for multi-day trips on your motorcycle
-
5 DIY maintenance jobs that can save you lots of money / Featured Article
Here are 5 do-it-yourself maintenance jobs that you can learn. Doing these maintenance items yourself not only help you learn more about your bike, but will help you save money in the proces...
-
5 things that could save your life during a motorcycle-related emergency / Featured Article
Find out how you can help prepare yourself for a variety of emergencies on the road.
-
Here's why your next motorcycle should be an adventure bike / Tips & Advice
Thinking about purchasing your next motorcycle? Here’s why adventure bikes should be on your list.
-
Here's your rainy touring ride checklist / Featured Article
Here are 5 things you must remember if you plan on going on long rides in rainy weather.
Latest Features
-
Last-minute Christmas gift ideas for your rider friends and family / Featured Article
Struggling to think of gift ideas for your motorcyclist friends and family? Read on to get some inspiration this gift-giving season.
-
Ride a naked sportbike? Get these 5 upgrades first / Featured Article
Here’s a quick list of 5 upgrades to your naked sportbike to enhance your riding experience.
-
Motorcycle 101: The inner workings of a slipper clutch / Featured Article
Slipper clutches are awesome as they make for more forgiving downshifts and a lighter clutch lever. Let’s take a closer look at them and see how they work.


