/ Featured Article
5 DIY maintenance jobs that can save you big money
Few things are as enjoyable as learning how to wrench on your bike.

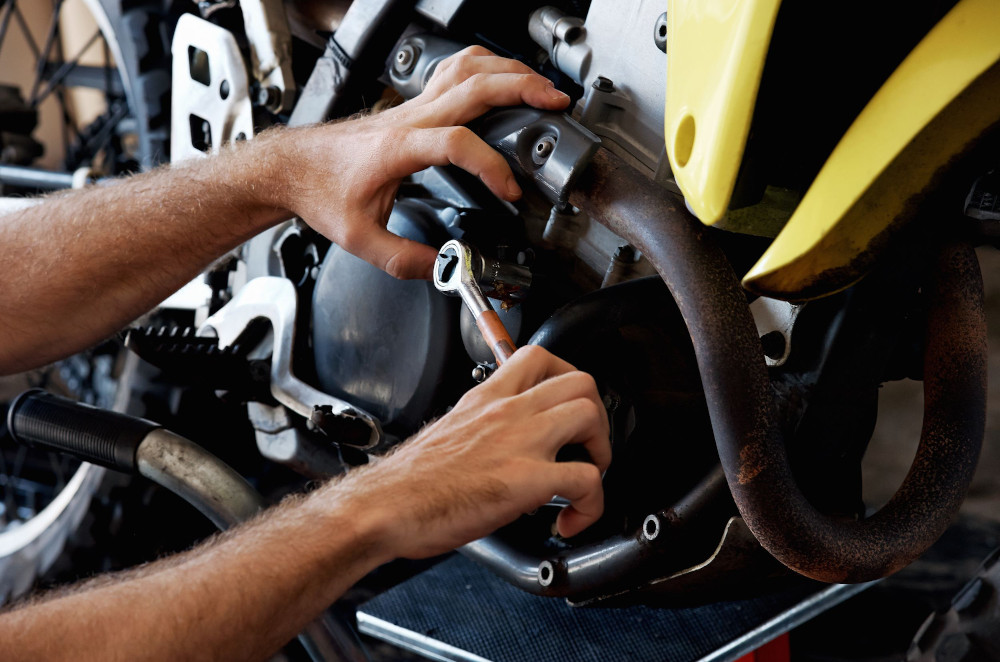
Owning a motorcycle entails the responsibility of maintaining its upkeep. Certain tasks are best entrusted to professionals, such as electrical work, engine maintenance, and suspension repairs. However, there are also tasks that we can undertake on our own. This particularly applies to individuals who possess a mechanical aptitude. One of the most gratifying aspects of owning a motorcycle is the opportunity to learn how to work on it. This hands-on experience provides valuable insight into the inner mechanisms of your bike. Moreover, it has the potential to save you a significant amount of money. With that in mind, let's explore a few maintenance tasks that you can easily tackle on your own.
Oil and filter changes

Among the essential maintenance tasks, oil changes are considered fundamental. Every motorcycle requires oil, and eventually, it will need an oil change. Dealerships or service centers can charge significant amounts, especially for high-end motorcycles. By performing oil changes yourself, you not only save money but also gain valuable knowledge about your bike.
When changing the oil in your motorcycle, there are several important factors to keep in mind. First, consider the type of oil you should use, including the weight and whether it should be semi-synthetic or fully synthetic. Refer to your owner's manual or seek advice from experts to determine the appropriate oil type for your specific bike. Second, be cautious not to overfill or underfill your engine with oil. Follow the recommended oil capacity stated in your manual and use proper measuring tools or indicators to achieve the correct oil level. Lastly, ensure you use the correct oil filter designed for your motorcycle model. Consult manufacturer recommendations or trusted professionals to select the appropriate filter.
Chain adjustment and lubrication

For those who possess mechanical skills, it might come as a surprise that some individuals go to the dealership for chain adjustment and lubrication. However, this task is quite simple to do on your own. All you need are a paddock stand and a set of wrenches, and you can complete the job in under 30 minutes. It's important to consult your owner's manual to determine the proper chain tension and the torque specifications for your axle nut and chain adjusters. By following these guidelines, you can confidently perform chain adjustments and lubrication, saving both time and money by avoiding unnecessary dealership visits.
Replacing your chain and sprocket
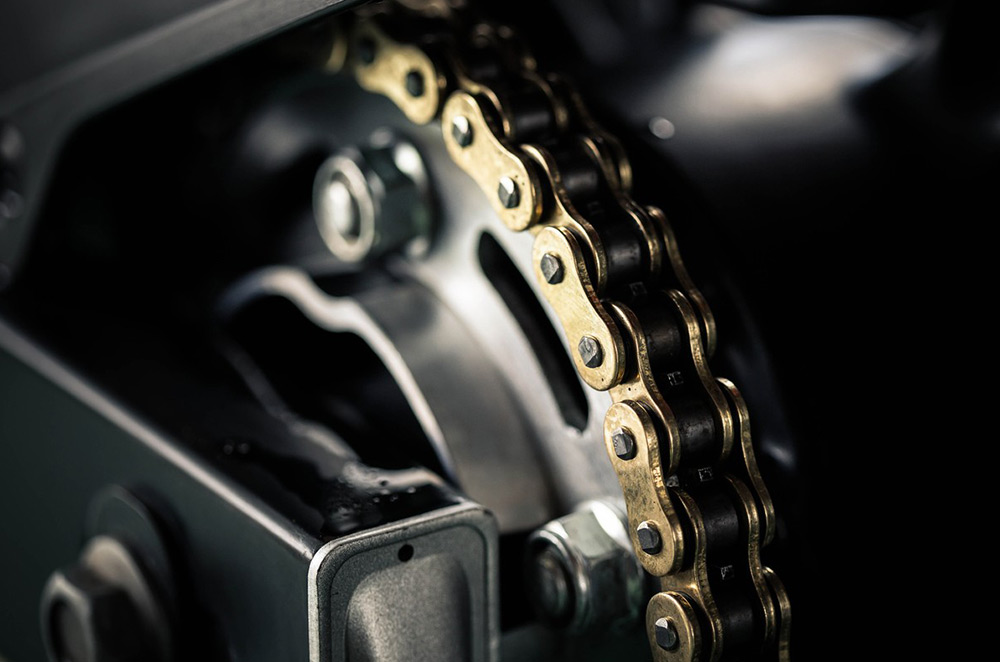
Indeed, changing the chain and sprocket on your motorcycle may initially seem like a complex task, but you'll discover that it is surprisingly straightforward. The process may vary depending on the specific bike model, and you'll need a few specialty tools to successfully complete the job. These tools include a paddock stand, wrenches, a chain cutter, a riveter, and, importantly, a lot of patience.
However, despite the initial complexity, installing a new chain and sprocket on your own can be an immensely satisfying experience. With the correct tools at your disposal, the job becomes much more manageable. Following the proper procedure and taking your time, you can confidently replace the chain and sprocket, ensuring the smooth functioning and longevity of your motorcycle's drivetrain. Remember to consult your owner's manual for specific instructions and torque specifications to ensure a successful installation.
Bleeding your brakes

Now, let's shift our focus to brakes. Bleeding your brakes is a crucial maintenance task that guarantees your motorcycle can stop effectively and promptly. Over time, moisture and corrosion can impact the performance of your brake fluid, leading to the formation of air bubbles within the system. Fortunately, bleeding your brakes is a relatively simple process and typically requires only a few basic tools.
While specific instructions may vary based on your bike model, the general procedure for bleeding hydraulic disc brakes remains largely the same. It is essential to consult your owner's manual for detailed instructions tailored to your motorcycle. However, the overall process involves removing air from the brake lines by opening specific valves and allowing fresh brake fluid to flow through the system.
Replacing your brake pads

The cost of labor for replacing brake pads at a dealership or service center can be quite high. However, you'll be delighted to discover that replacing your motorcycle's brake pads is a relatively easy task. While we have provided a detailed article on replacing brake pads specifically for high-end Brembo M50 Monoblock calipers, the procedure is generally similar for other disc brakes as well.
To successfully replace your brake pads, ensure that you acquire the correct pads specifically designed for your motorcycle model. It is crucial to use the appropriate pads to maintain optimal braking performance and compatibility. After installing the new brake pads, it is important to bleed your brakes. Bleeding the brakes ensures that any air introduced during the pad replacement process is removed from the brake system, allowing for proper brake operation.
Related Articles
-

The Moto Guzzi V85 TT is the perfect bike for retro ADV enthusiasts / Featured Article
The Moto Guzzi V85 TT is an excellent choice for riders looking for a classy yet capable adventure bike.
-

Follow these 3 tips to extend the service life of your motorbike’s battery / Featured Article
A motorcycle’s battery is considered as the heart of its electrical system, as such, taking good care of your battery can dramatically extend its lifespan.
-

Big bike versus small bike: which one is better for your lifestyle? / Featured Article
Here are a few tips to decide if you should get a big bike or small bike depending on your lifestyle.
-

Axial versus radial calipers - brake technology explained / Featured Article
Today, let’s talk about the differences between radially and axially mounted calipers, and determine the situations which are ideal for either.
-

Is your motorcycle out of warranty? Be sure to check these items ASAP / Featured Article
If your motorcycle is out of warranty, it’s now your duty to make sure you stay on top of its maintenance no matter what, or run the risk of facing a hefty repair bill.
Latest Features
-
The Moto Guzzi V85 TT is the perfect bike for retro ADV enthusiasts / Featured Article
The Moto Guzzi V85 TT is an excellent choice for riders looking for a classy yet capable adventure bike.
-
Follow these 3 tips to extend the service life of your motorbike’s battery / Featured Article
A motorcycle’s battery is considered as the heart of its electrical system, as such, taking good care of your battery can dramatically extend its lifespan.
-

5 reasons the Voge 525DSX should be your next adventure bike / Featured Article
Here are 5 reasons why the Voge 525DSX should be on your radar if you’re looking for a capable and versatile adventure bike.